Speedify Server Settings Overview
This article explains how to change which Server Speedify connects to, so you can control where your internet traffic appears to come from.
Why the Speedify Server Location Matters
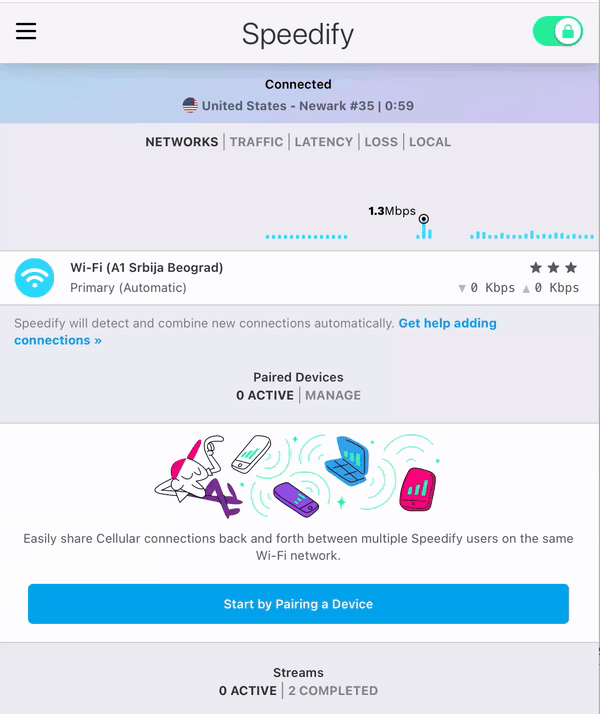
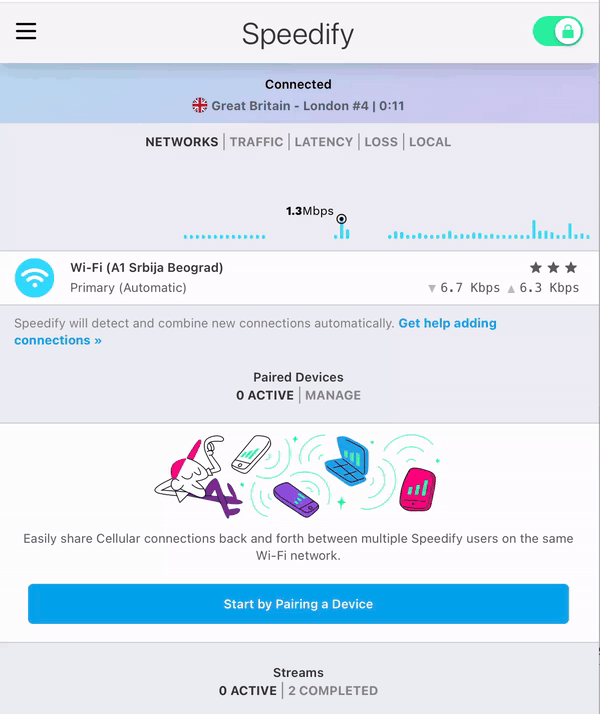
When you use Speedify, all of your internet traffic flows through one of Speedify's Servers. Software and websites that track your location via IP address will see the location of that Speedify Server, not your actual location.
By default, Speedify automatically picks the closest Server to give you the lowest latency connection. You can override this and choose a server manually at any time.
Let's Get Started
Step 1
Open the Speedify app. On the main dashboard, click the Connection Status area in the center of the screen, or click the ☰ icon.
This opens the Server screen, which shows Fastest Server selected by default.
Step 2
To pick a specific country, scroll down to Manual Selection. This shows the full list of countries where Speedify has Servers.
You can pick the country entry to let Speedify choose the best server in that country automatically, or expand the country to pick a specific city.
Step 3
To connect to a specific server within a city, click the arrow next to the city name to expand the list of individual servers, then select the one you want.
Step 4
Once you've made your selection, click the back arrow in the top left to close the Server screen. Speedify will connect to your chosen server right away.
Using a Torrent-Friendly Server
If you plan to use BitTorrent, you need to select Torrent Friendly Server from the server list. This connects you to a server in Amsterdam that allows torrent/P2P internet traffic.
Did you know - you can run Speedify directly on your router to protect and speed up every device on your network, without installing Speedify on each one individually? Learn how to set up Speedify on your router.