Speedify Setup on OpenWrt and GL.iNet Devices
This article walks you through how to install and use Speedify on a router running OpenWrt or GL.iNet firmware. Once installed, Speedify lets your router combine multiple internet connections for faster upload and download speeds and more reliable connectivity for every device on your network.
Important: To use Speedify on an OpenWrt or GL.iNet router, you'll first need a Speedify Router License.
Requirements
Before you get started, make sure your setup meets the following requirements:
- A router running OpenWrt (version 23.05+) or GL.iNet firmware. You can check the full list of supported router devices.
- A CPU architecture of x86_64 (Intel or AMD) or aarch64 (Cortex A53 or A72). Popular examples include the Raspberry Pi and Banana Pi. Support for MIPS devices may be added in the future.
- An active internet connection on the router (needed to download Speedify).
- A computer connected to the router over Ethernet or Wi-Fi network, with an SSH client installed. You can use OpenSSH if you don't already have one.
- A valid Speedify Router License.
What Gets Installed
Speedify provides two packages for OpenWrt:
speedify- the core Speedify VPN (Virtual Private Network) service and CLI (Command Line Interface).luci-app-speedify- an optional package that adds a Speedify tab inside the LuCI web admin panel.
The speedify package installs a GNU libc-compatible runtime if one isn't already present. The luci-app-speedify package installs Nginx if not already present, in order to secure Speedify's local WebSocket API. Installing Nginx may conflict with packages that depend on uhttpd.
Let's Get Started
Step 1: SSH into Your Router
On your computer, open your SSH client and connect to your router. Replace $routergateway with your router's actual IP address or hostname (commonly 192.168.1.1 ):
ssh root@$routergateway
You should be logged into the router's terminal once the connection is established.
Step 2: Run the Speedify Install Script
Once you're connected via SSH, run the following command to download and install Speedify:
wget -q https://get.speedify.com -O- | sh
This script installs both the speedify package and the luci-app-speedify LuCI plugin automatically. If you'd prefer to install everything manually instead, see Manually Installing Speedify on OpenWrt.
Step 3: Sign In to Speedify
After installation, open the LuCI web admin panel in your browser. If you had it open before the install, log out and log back in so the Speedify tab appears.
On OpenWrt, you'll see a new Speedify tab in the top navigation:

On GL.iNet, the Speedify tab is on the left side of the interface, under the VPN section:

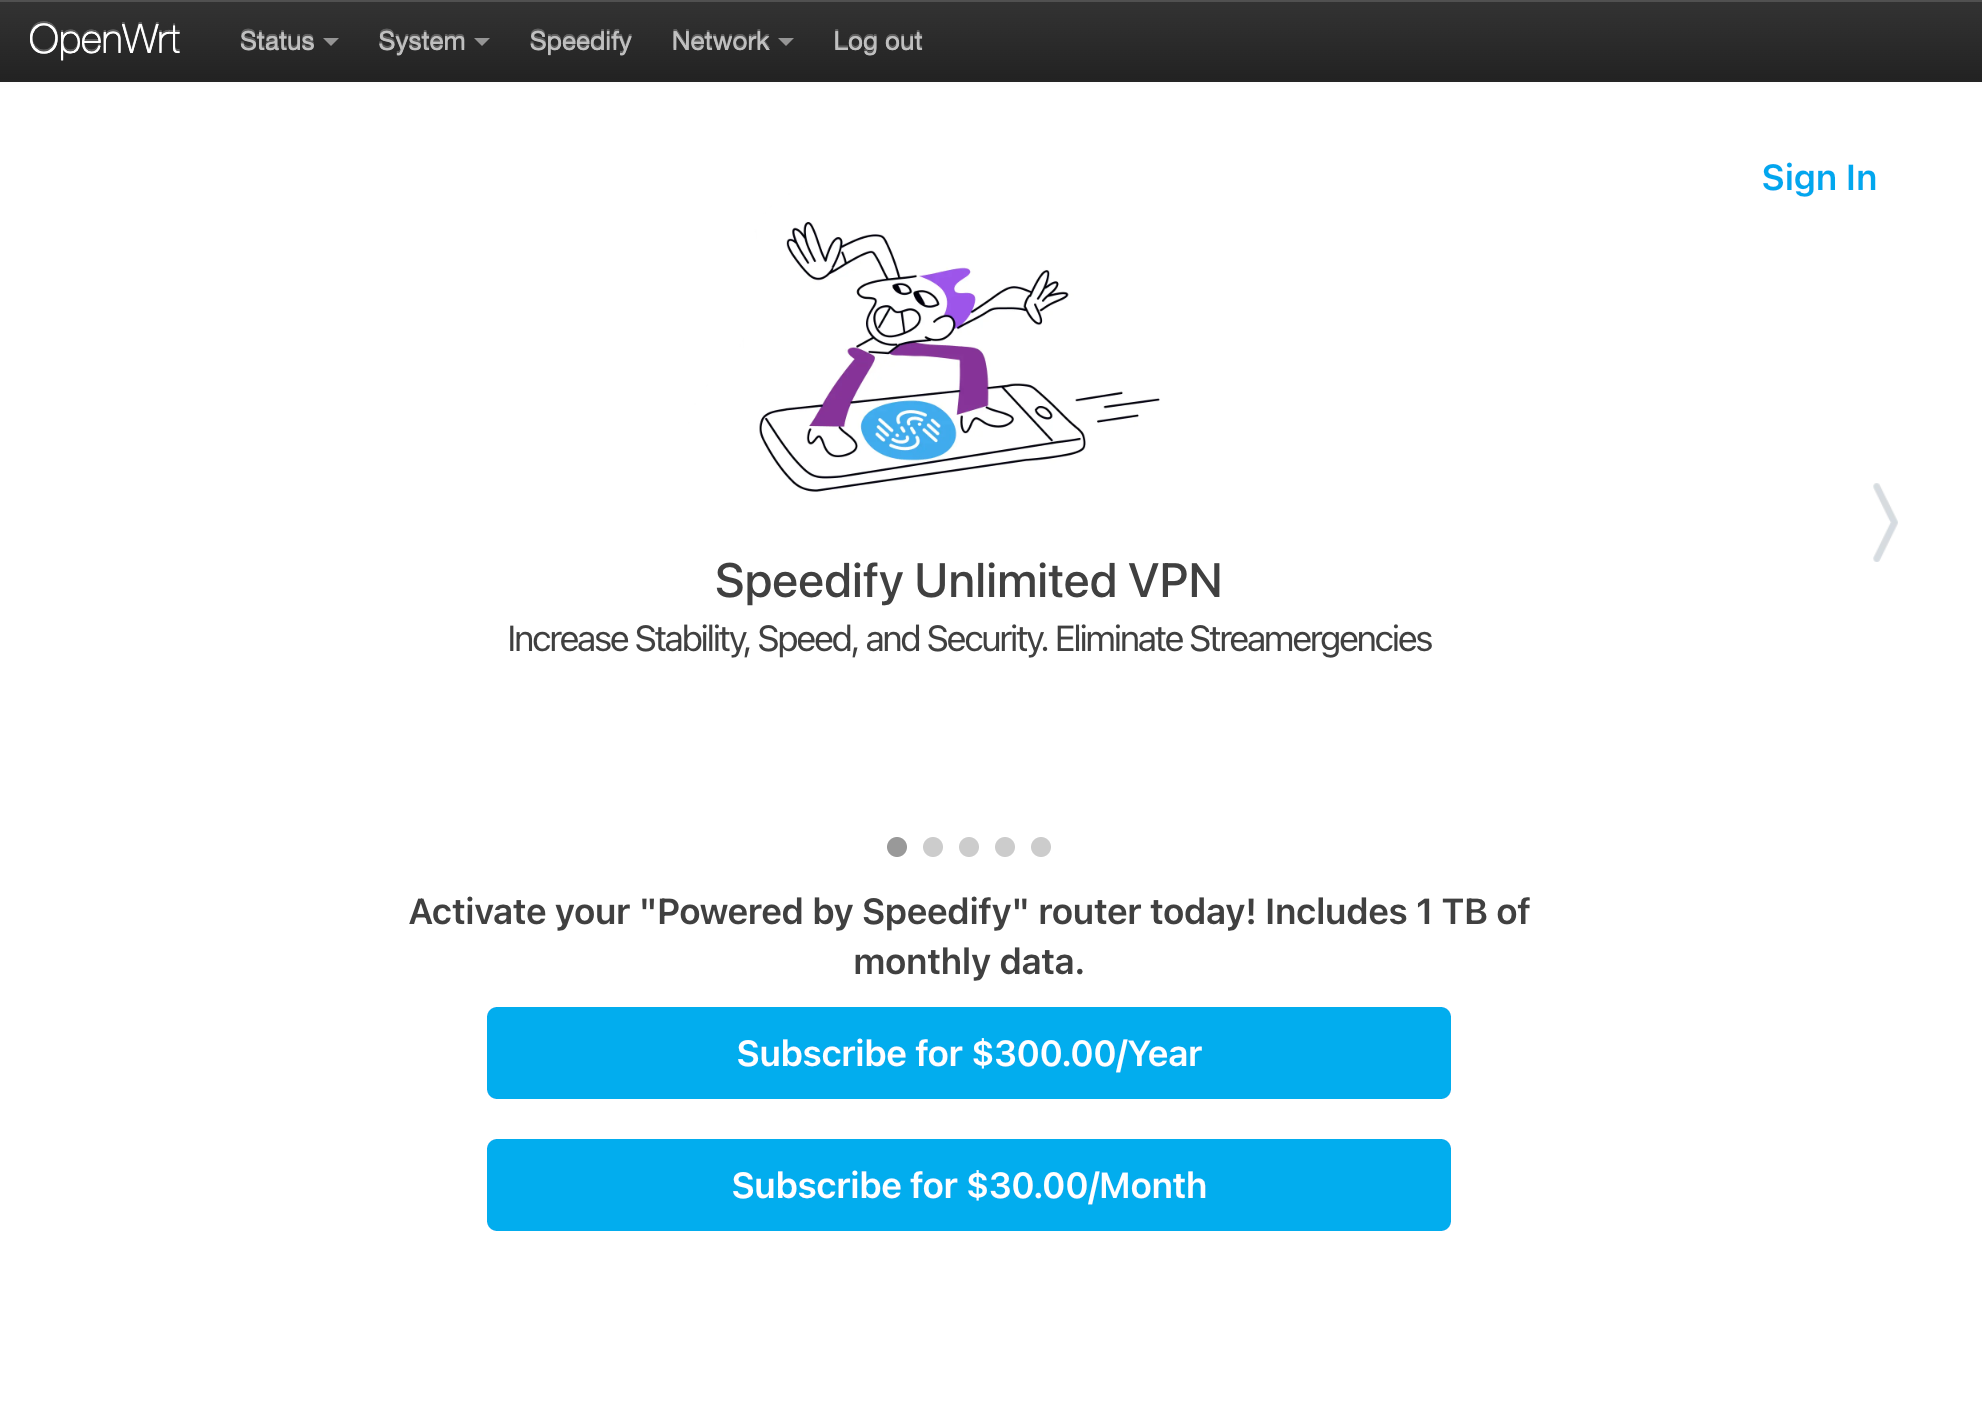
Click the Speedify tab to open the login portal. You'll be redirected to sign in with your Speedify account:
If you're using the CLI instead, follow the steps in How to Sign In to My Speedify Router.
Step 4: Confirm Speedify Is Running
After completing login and device activation, you'll have access to the full Speedify interface, which looks the same as on other platforms:

Speedify is now active on your router. All devices connected to your router's network will benefit from Speedify's bonding and protection.
Bonding Multiple Connections with Speedify
To combine multiple internet connections (for example, a wired connection and a 4G/5G cellular connection) and set up multiple WAN interfaces, see Bonding Connections on OpenWrt.
Using the Speedify CLI
You can also control Speedify directly from the command line. The Speedify CLI is located at:
/usr/share/speedify/speedify_cli
For a full reference of available commands, see the Speedify CLI documentation.
Updating Speedify
To update Speedify to the latest version, run the same install script again over SSH:
wget -q https://get.speedify.com -O- | sh
Note: if you update the OpenWrt operating system itself on most devices (including GL.iNet devices), you'll need to reinstall Speedify afterward. OpenWrt OS upgrades typically remove all manually installed software.
Troubleshooting
If you notice connection issues on a GL.iNet router while Speedify is connected, there may be a conflict between Speedify's PEP (Performance Enhancing Proxy) and GL.iNet's Network Acceleration feature. See Connection Issues with Speedify on GL.iNet for how to resolve this.
If you run into any other issues, contact the Speedify support team at support@speedify.com.
Did you know - We offer Dedicated and Self-hosted Servers, giving your team more control over where your internet traffic is routed? Learn more about Speedify Dedicated and Self-hosted Servers.