Changeing Connection Names in Speedify on Windows PC
This article explains how to rename your network connections on a Windows PC so they show up with your chosen names inside Speedify.
How Connection Names Work in Speedify
Speedify displays connection names exactly as Windows labels them. If Windows has assigned a generic or confusing name to one of your connections (like "Ethernet 3" or "Local Area Connection 7"), that same name will appear in Speedify. The fix is to rename the connection directly in Windows, Speedify will pick up the updated name the next time you restart it.
Let's Get Started
Step 1
Open Windows Settings and click on Network & Internet. Then click Advanced network settings.

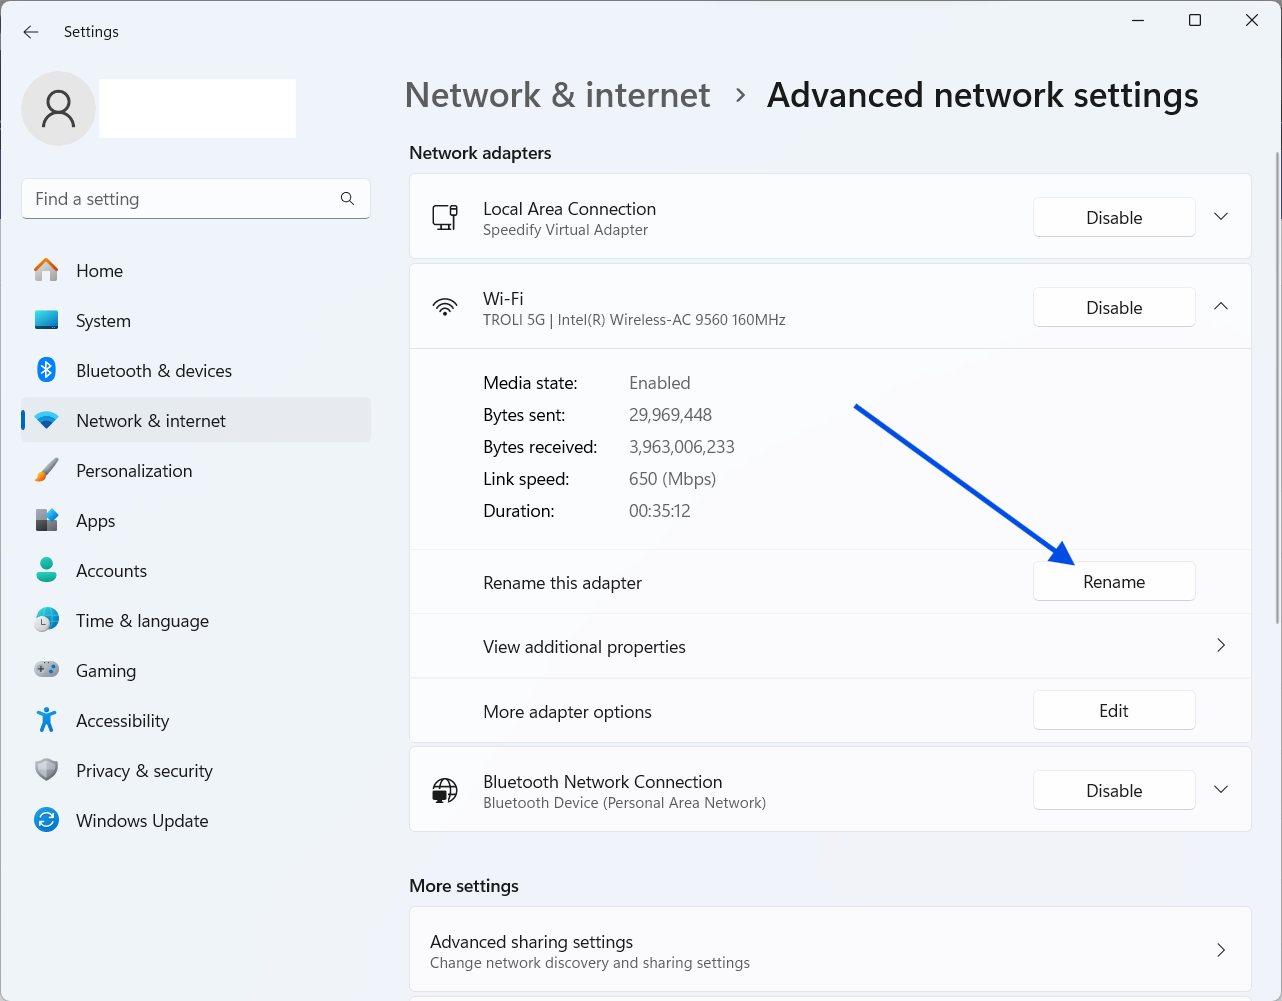
Step 2
Under Advanced network settings, find the connection you want to rename and click on it to expand its menu. Select Rename, type in the new name, and confirm.
Step 3
Restart Speedify. Your connection should now appear in Speedify with the new name you set in Windows.
Did you know - Speedify automatically detects and prioritizes video calls, live streaming, and VoIP internet traffic to give you a more stable, higher quality experience? Learn more about how Speedify's Enhance Streaming works.