Android Wi-Fi Tethering Setup on a Windows PC
This article explains how to tether your Android phone to your Windows PC over Wi-Fi, so your PC can use your phone's 4G/5G cellular connection.
What You'll Need
- An Android phone with an active 4G/5G cellular data plan
- A Windows PC with an internal Wi-Fi card or an external Wi-Fi USB adapter
Let's Get Started
Step 1
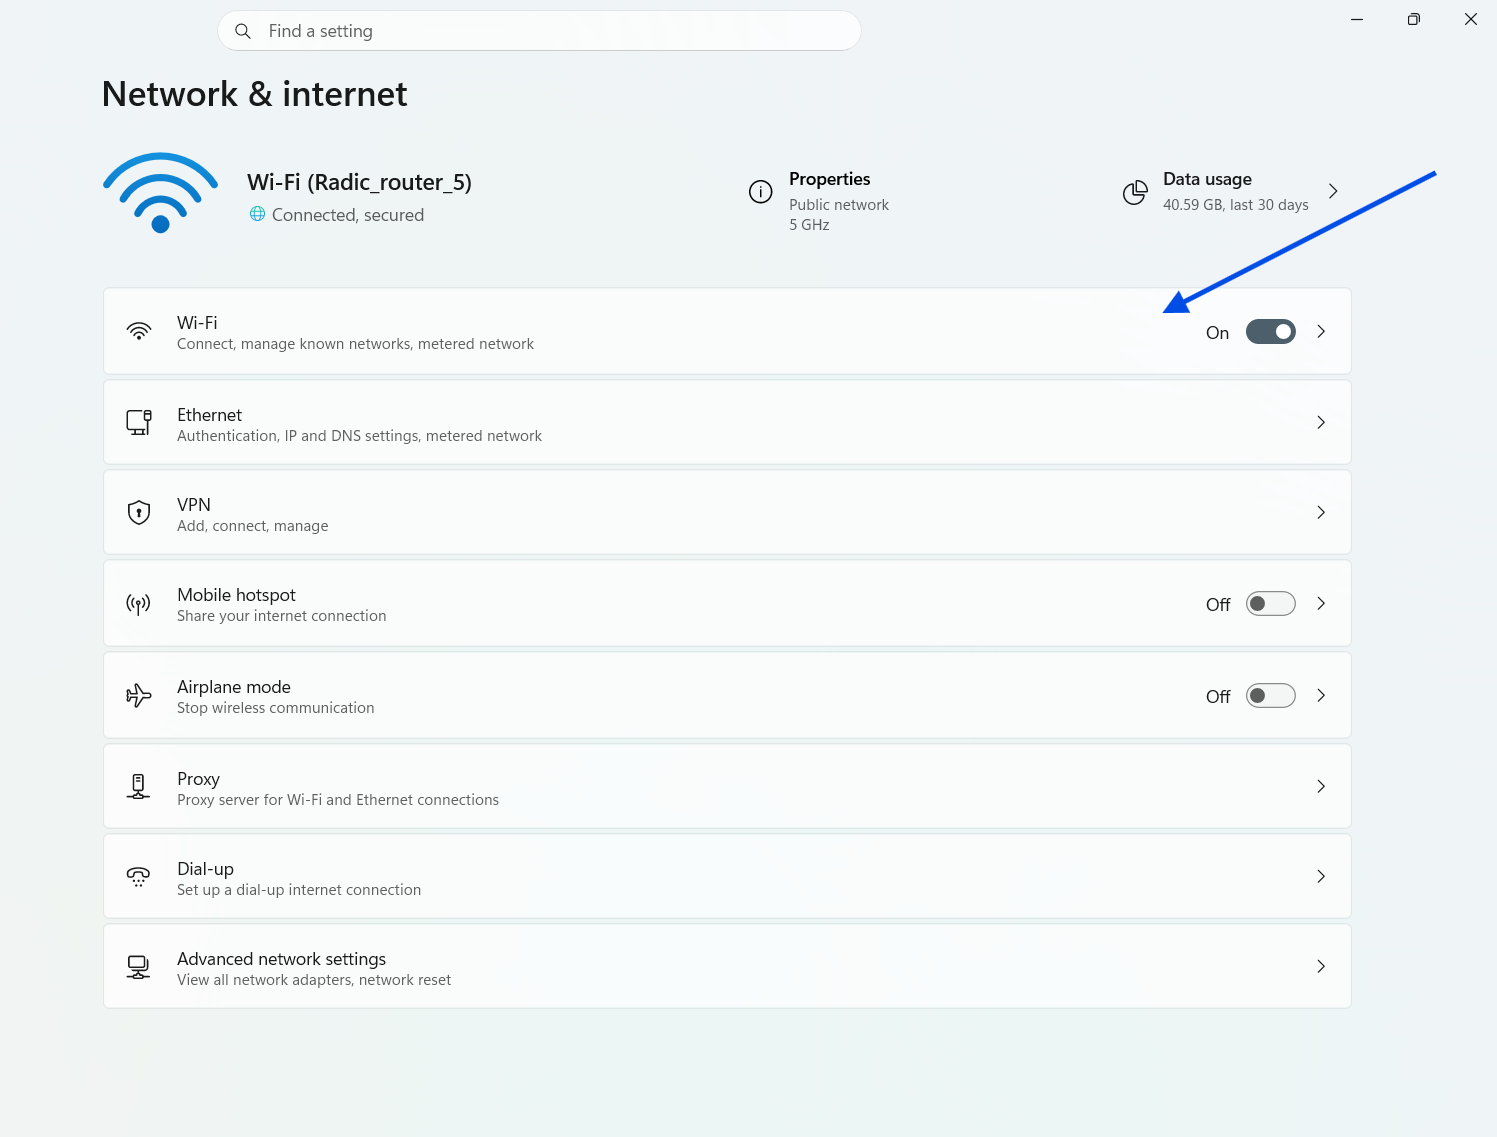
Make sure your PC has a working Wi-Fi connection available. Press Windows key + X and select Network Connections to confirm the Wi-Fi is turned on.
If your PC doesn't have a built-in Wi-Fi card, plug an external Wi-Fi USB adapter into any USB port. Windows will install the required drivers automatically, though you may need to follow the instructions that came with the adapter. Restart your PC if prompted before continuing.
Step 2
Enable the Wi-Fi hotspot on your Android phone. The quickest way is to swipe down on the notification bar and tap the Hotspot icon. Make sure your phone's cellular data connection is also turned on.
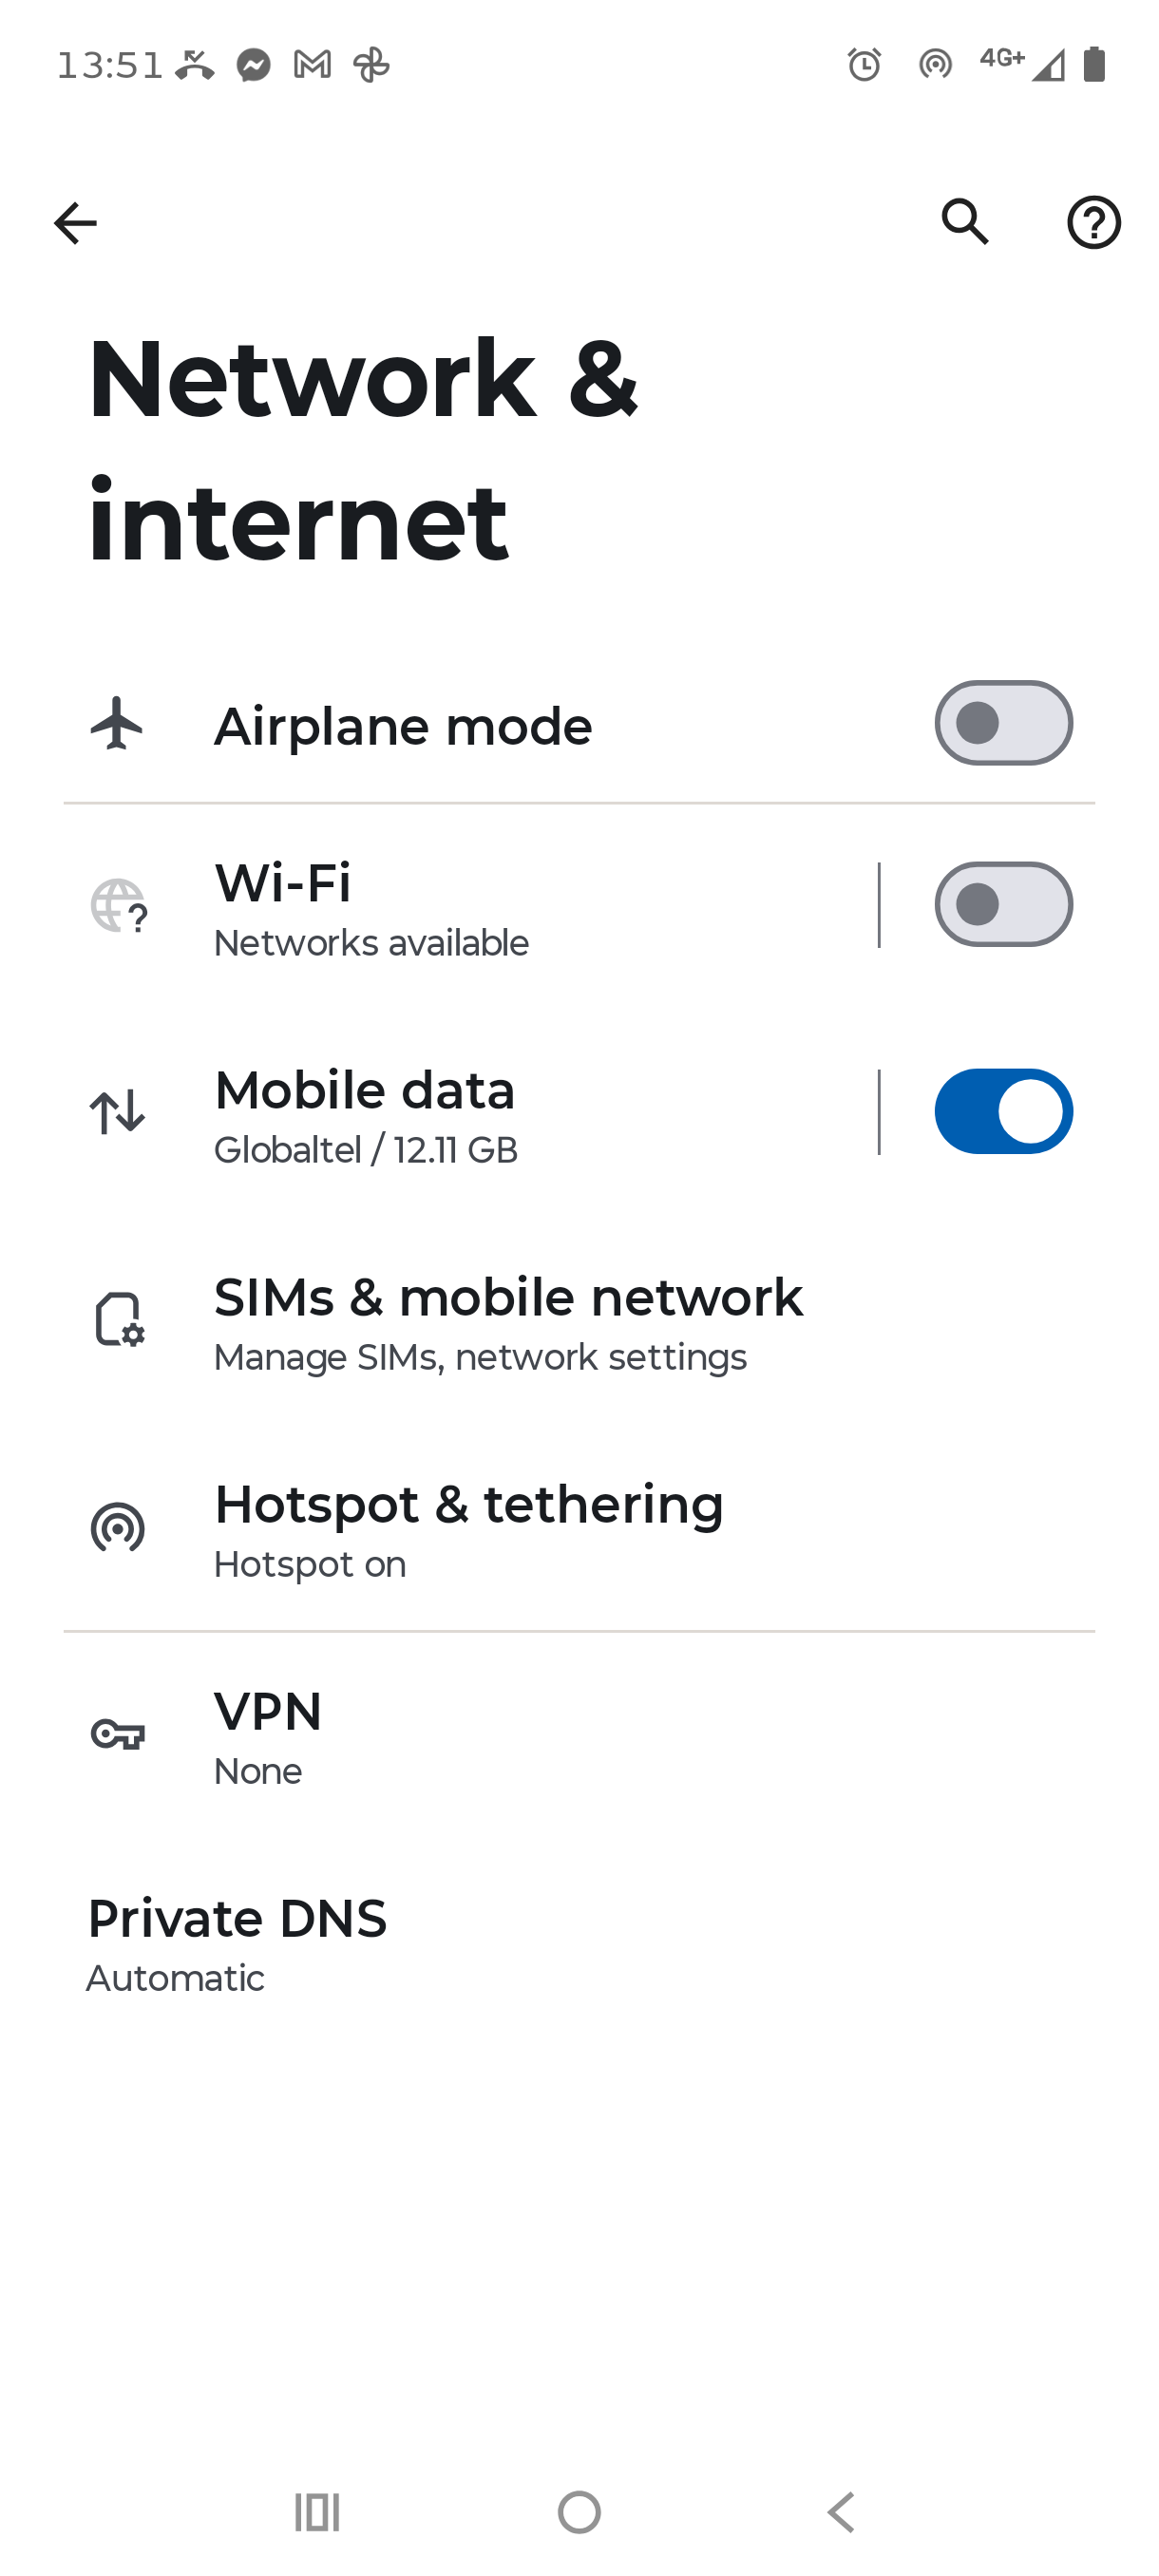
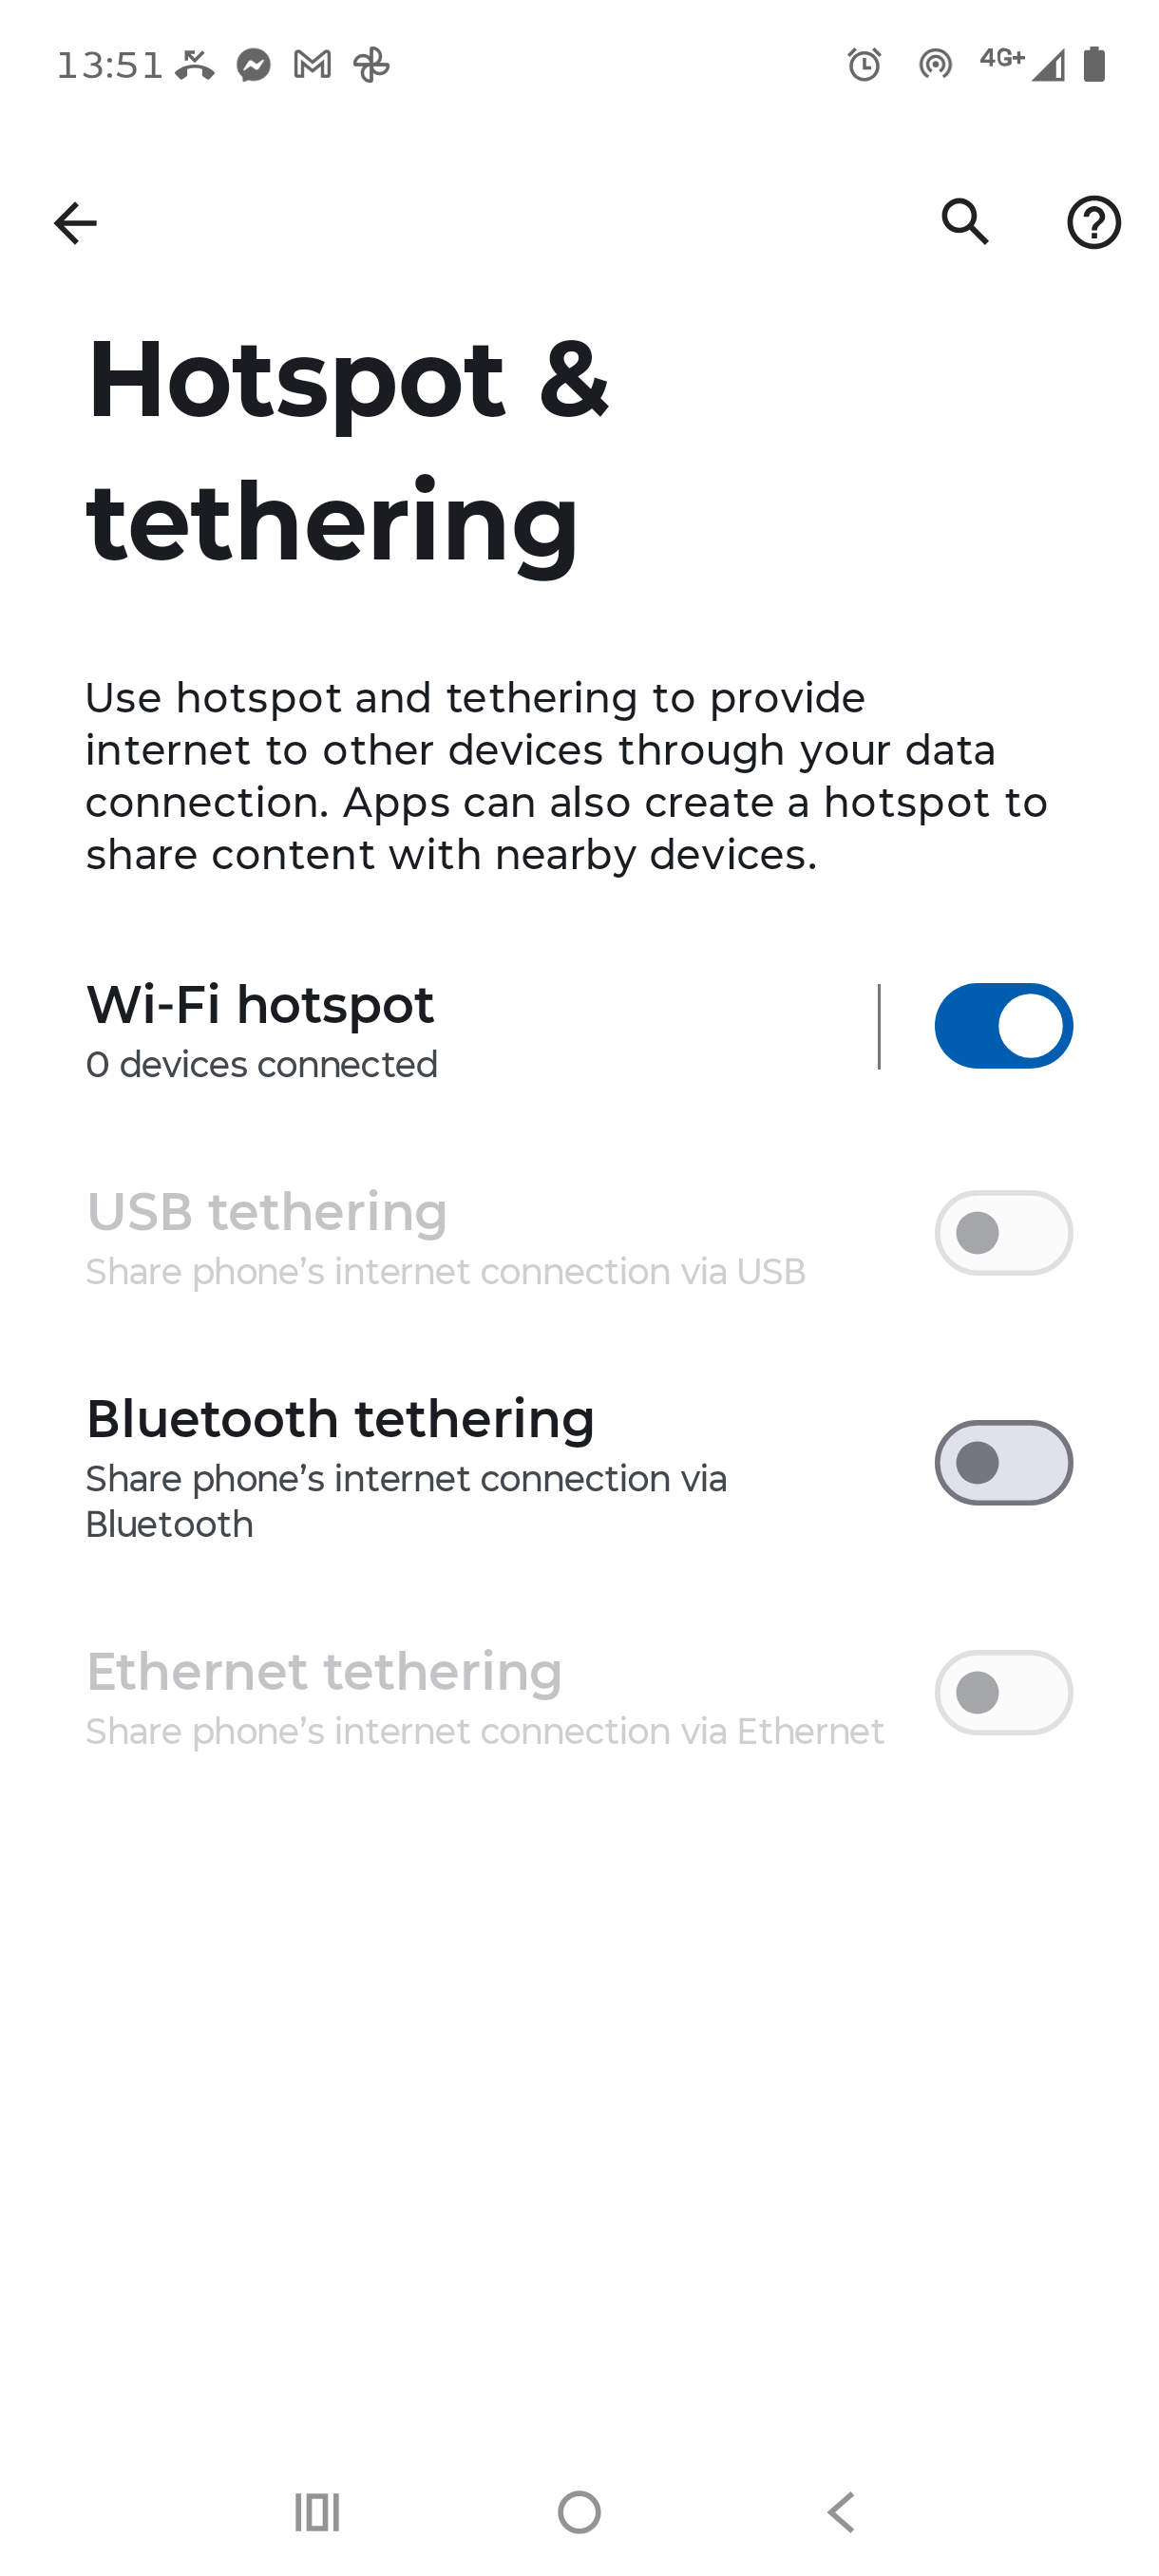
Alternatively, go to Settings > Network & internet > Hotspot & tethering and toggle Wi-Fi hotspot on.
Step 3
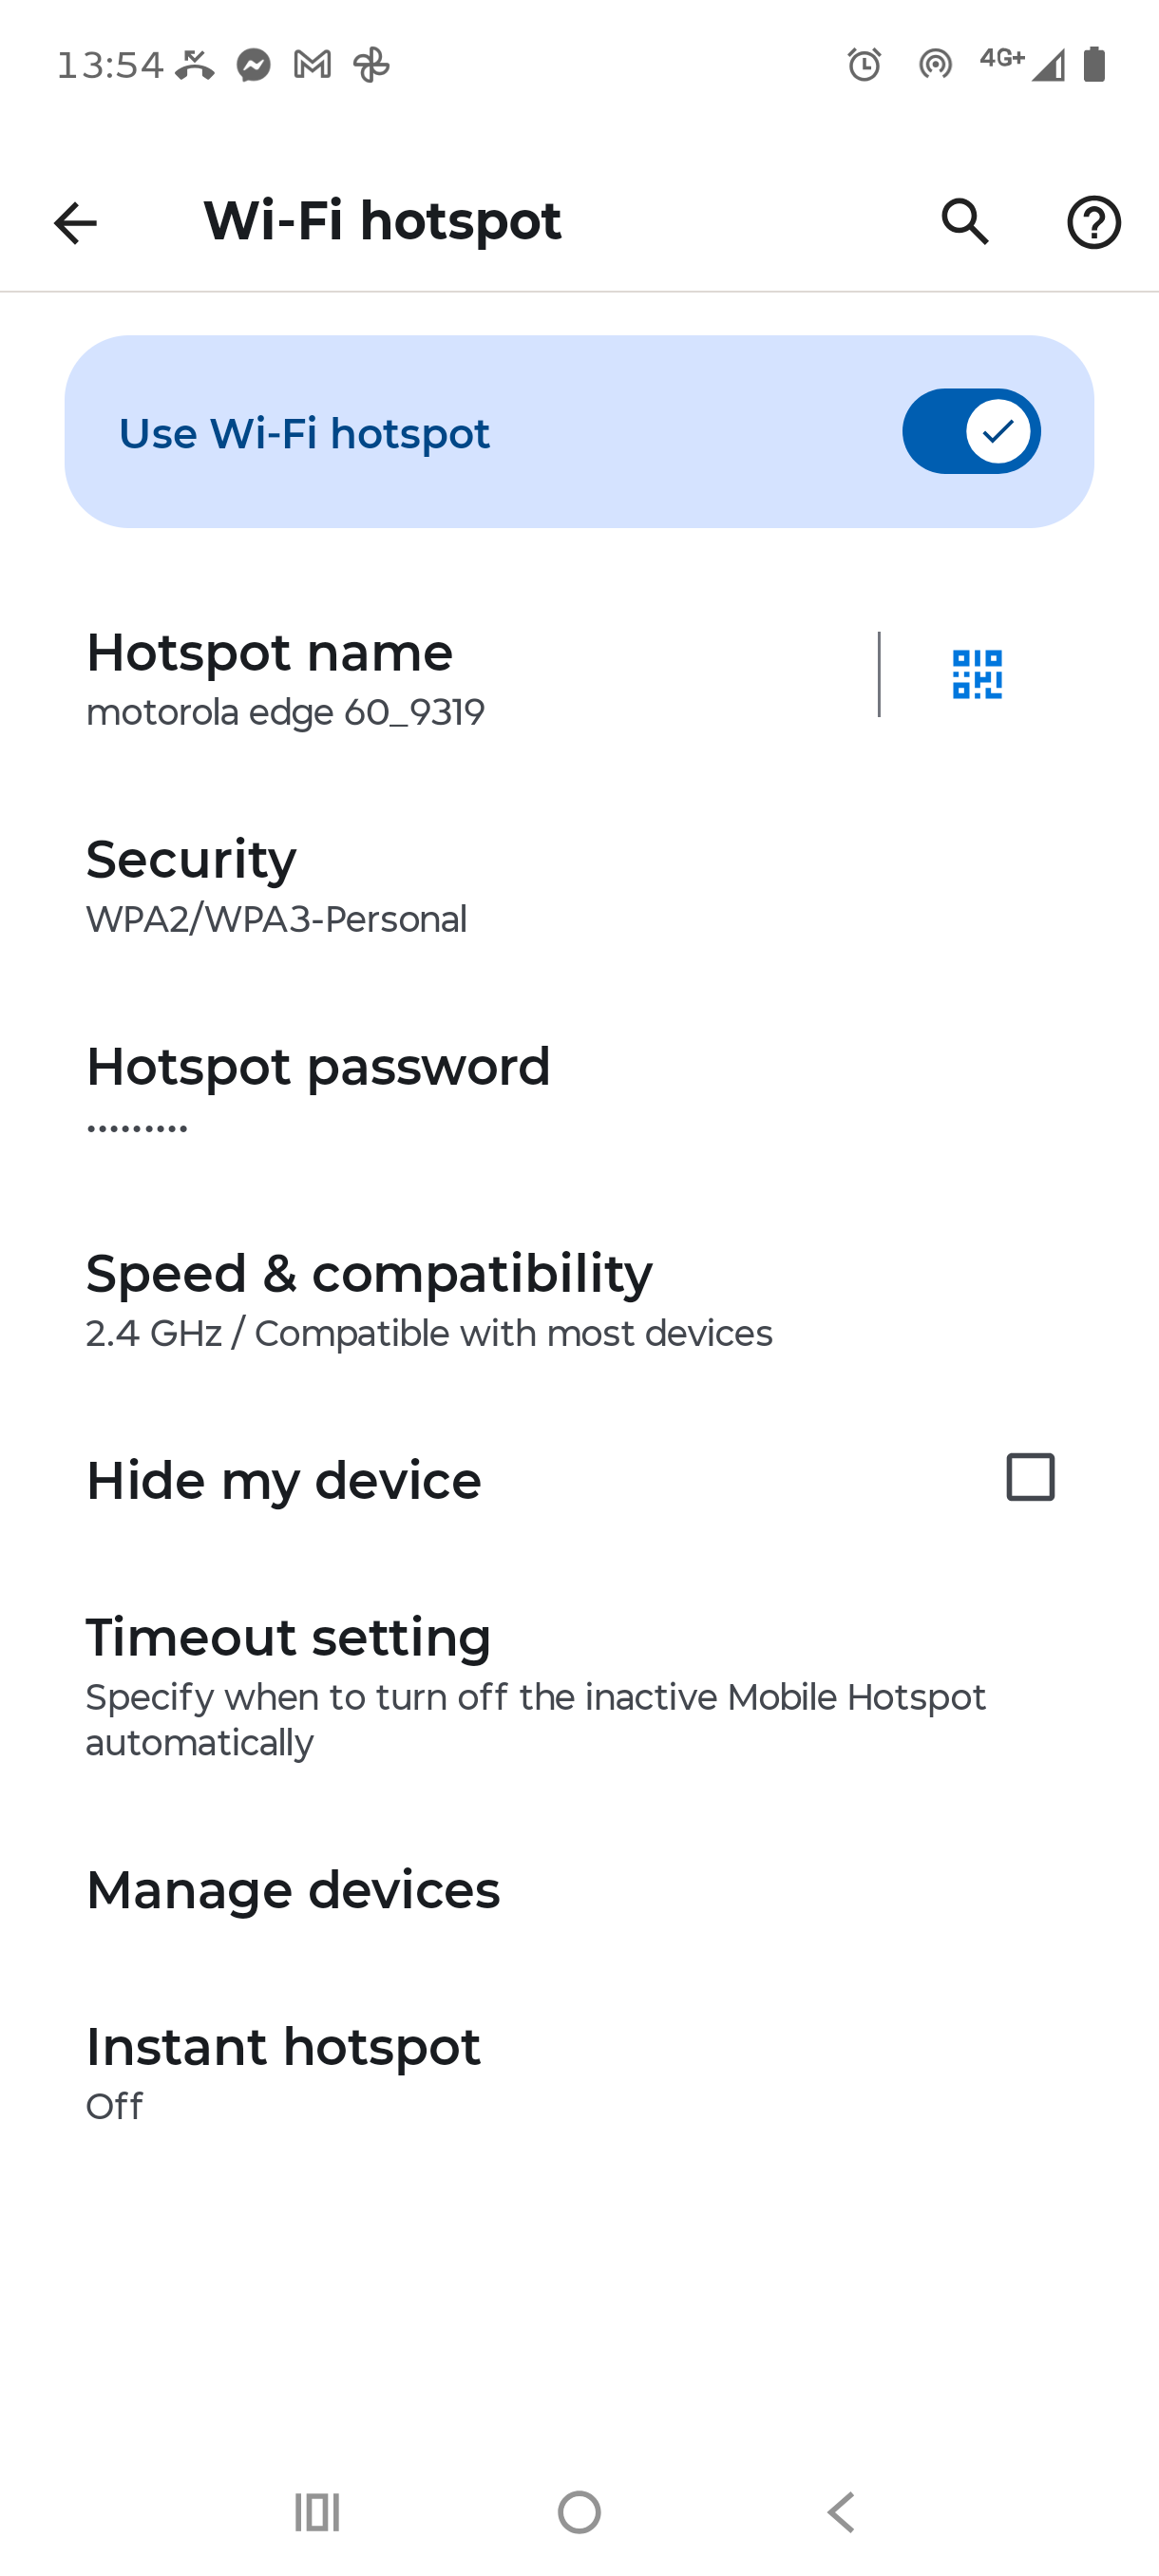
Configure your Wi-Fi hotspot with a name (SSID) and password. Tap the Hotspot icon in your notification bar, or go to Settings > Hotspot & tethering > Wi-Fi hotspot , then tap Hotspot name and Hotspot password to set them.
Take note of the name and password, as you'll need them in the next step.
Step 4
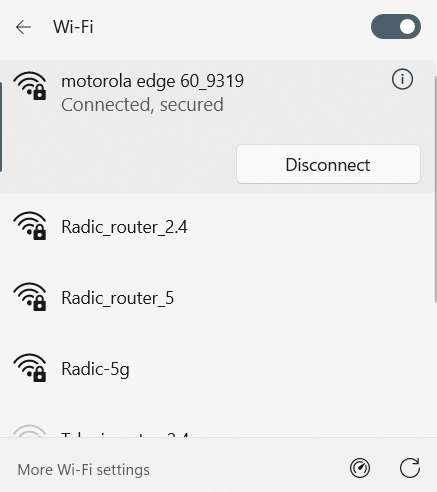
Connect your PC to the hotspot. Click the Wi-Fi icon in the lower-right corner of the Windows taskbar (system tray), turn on Wi-Fi, and select the hotspot name you set on your phone. Enter the password when prompted.
Once connected, your PC's internet traffic will route through your Android phone's 4G/5G cellular connection.
Did you know - you can use Speedify to combine your PC's existing Wi-Fi connection with your tethered Android phone's 4G/5G cellular connection at the same time, giving you faster upload and download speeds and a more reliable connection? Learn how to do that with Speedify.