Android USB Tethering Setup on a Windows PC
This article explains how to share your Android phone's internet connection with your Windows PC using a USB cable. This is useful when you want to add your phone's 4G/5G cellular connection (or its Wi-Fi connection) as an additional internet source for Speedify to use.
What You'll Need
- An Android phone with an active Wi-Fi connection or 4G/5G cellular connection
- A USB cable compatible with your Android phone
- A Windows PC
Let's Get Started
Step 1
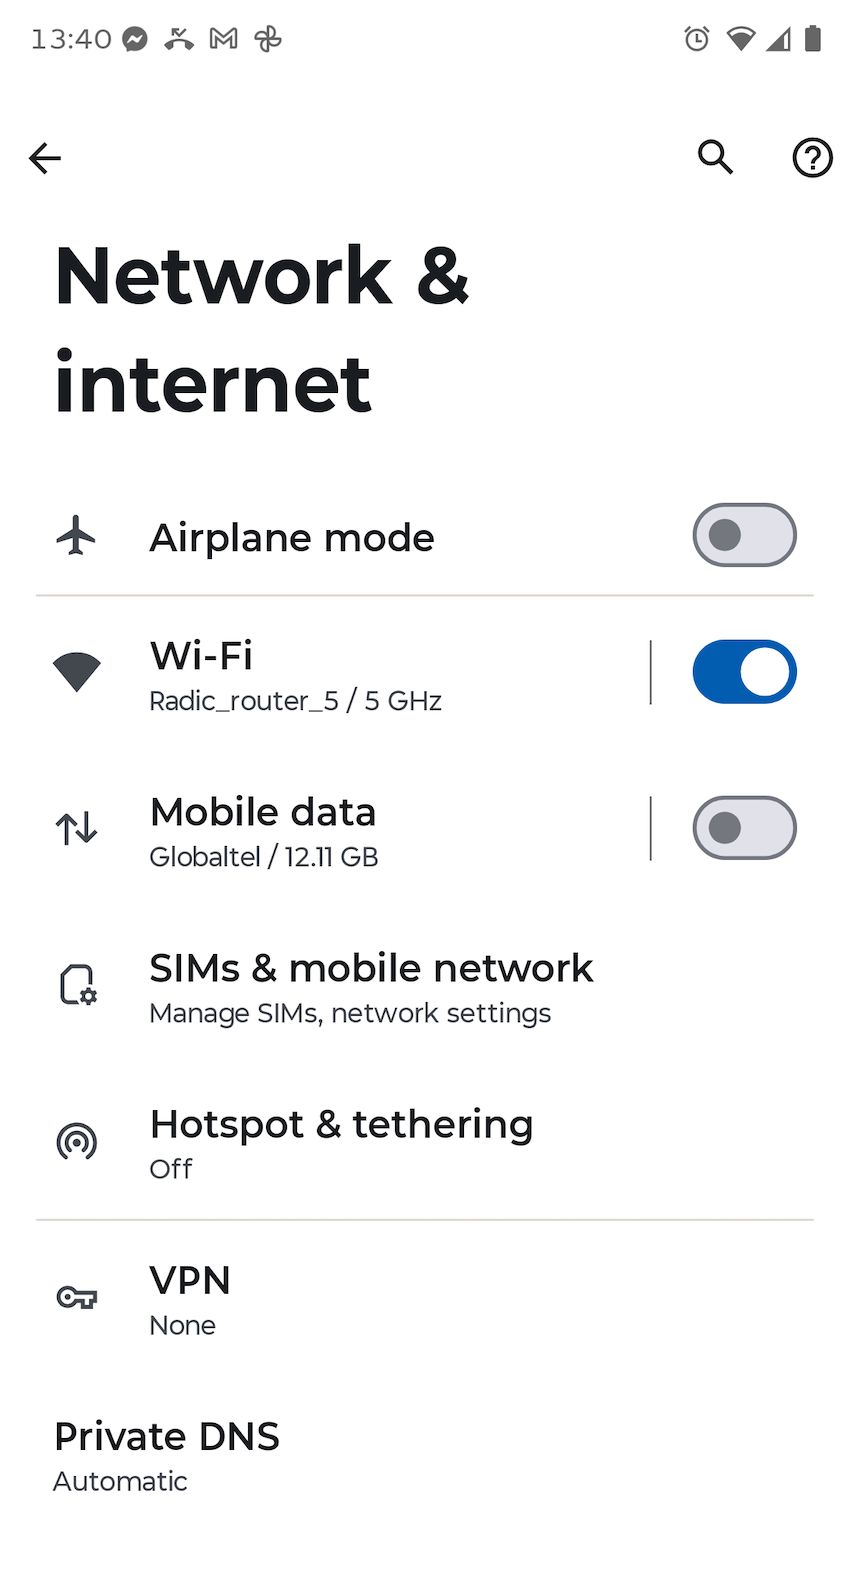
Make sure your Android phone has an active internet connection, either through Wi-Fi or 4G/5G cellular data. You can verify this by swiping down on the notification bar to check the connection status, or by going to Settings and confirming that Wi-Fi or mobile data is toggled on.
Step 2
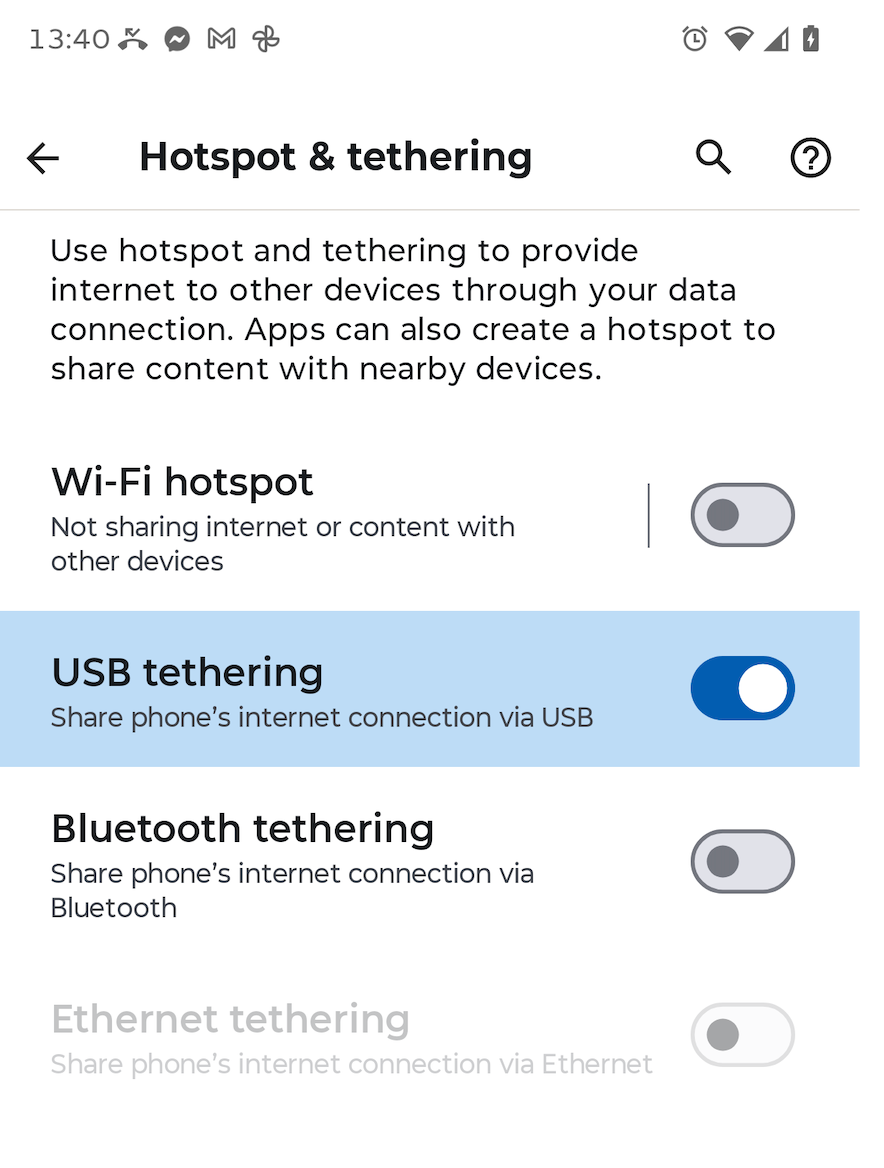
Connect your Android phone to your Windows PC using a USB cable. Then, on your Android phone, go to Settings > Network & Internet > Hotspot & Tethering and toggle on USB tethering.
Note: The exact path to this setting may vary depending on your Android phone's manufacturer and software version, but it's typically found under a "Tethering" or "Hotspot" section in the network settings.
Step 3
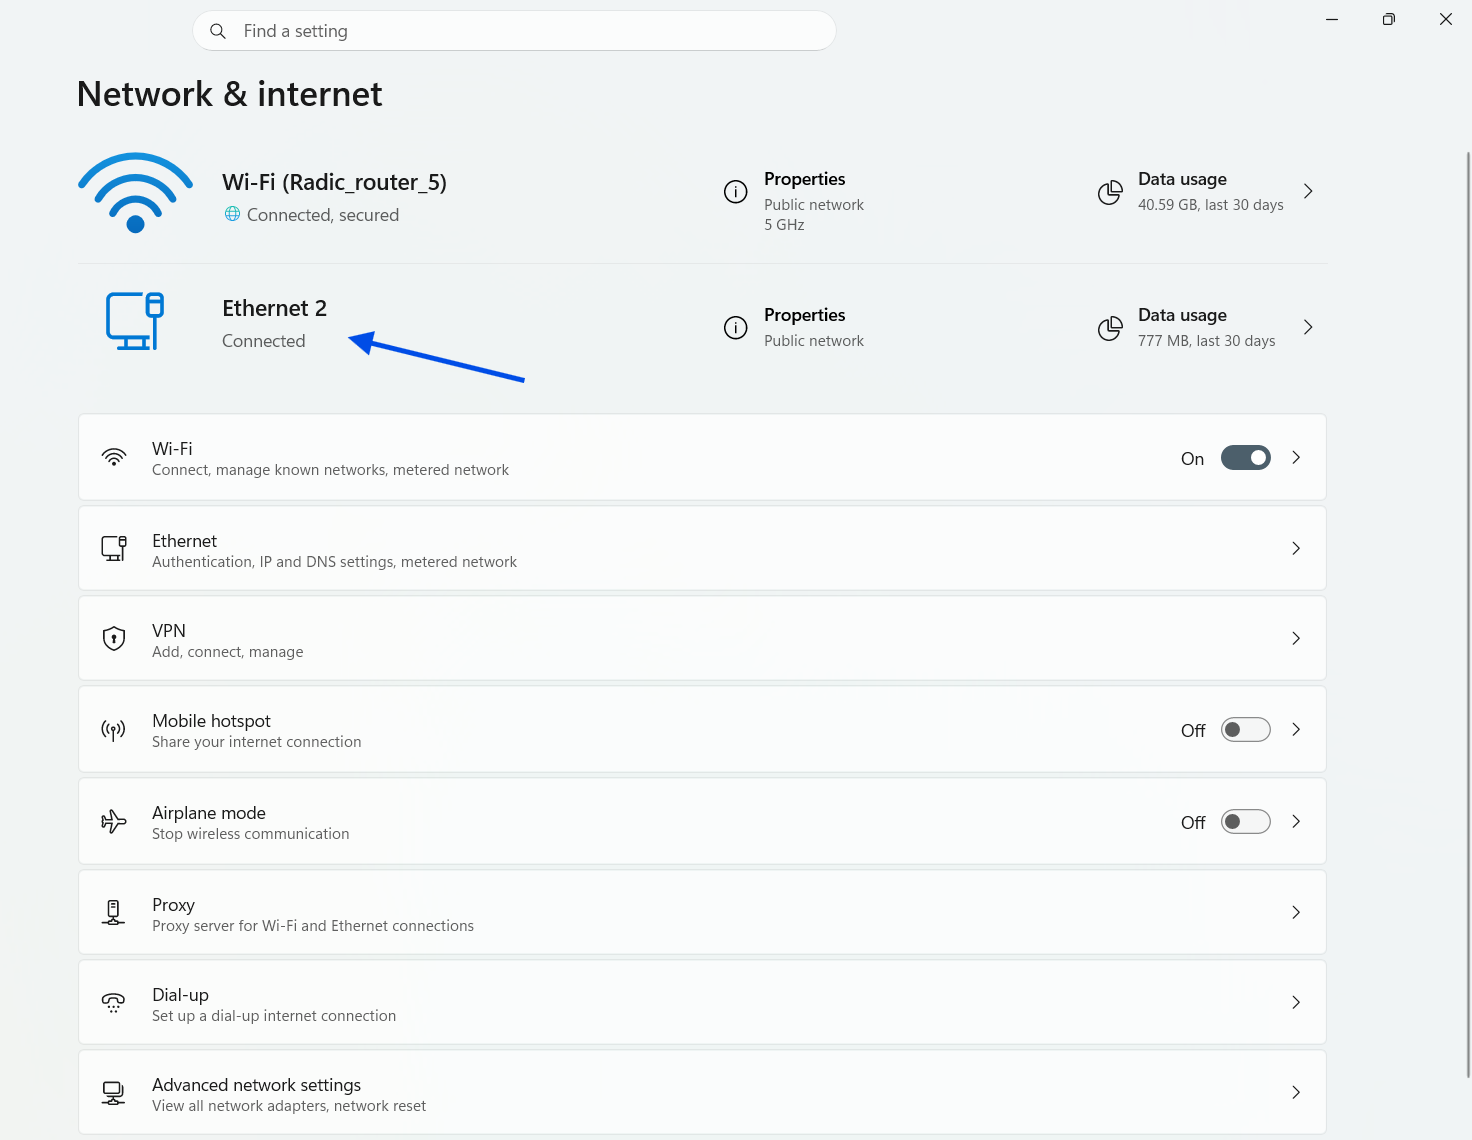
Confirm that your Windows PC recognized the tethered connection. On your PC, the connection will appear as a wired (Ethernet) connection. You can verify this by right-clicking the network icon in the lower-right corner of your taskbar (system tray) and selecting "Network and Internet Settings". You can see the "Ethernet 2" connection listed. That is your tethered Android phone.
Did you know — once your tethered connection is active, Speedify can combine it with your existing Wi-Fi, Ethernet, Satellite or any other connection for faster upload and download speeds. Learn how to manage your connections in Speedify.